Note: Multisig wallets are for advanced users only
A multisig wallet is one where you need control over multiple private keys in order to spend from that wallet. That is each address in the wallet has multiple private keys behind it. The idea with multisig wallets is that multiple people can cooperatively control the funds in the wallet. Alternatively, the wallet can require approval from multiple devices owned by the same person i.e. a form of second factor authentication.
The different individuals or devices that are involved in multisig wallet are called co-signers in the lingo. It is also possible to create a multisig wallet where a subset of co-signers must sign spending transactions. For example you can create a multisig wallet with 4 cosigners of which any 2 must sign spending transactions.
A few notes before we get started
- Each of the co-signers must use electrum
- Each co-signers’ wallet will contain their own auto generated seed as well as the Master Public Keys (MPKs) of the other co-signers.
- Due to the nature of multisig wallets it is likely that the different co-signers will create their wallet at different times when it is most convenient to them. So the process of creating a multisig wallet can be split into 3 main steps that can be done at separate times: Generate your seed and your master public key, communicate your MPK to your co-signers and receive their MPKs from them, create the final wallet and verify that the addresses are the same as the ones your co-signers are getting.
So let’s look at the process of creating a multisig wallet
Generate your seed and master public key
Before you begin this step please make sure you have a notebook or a piece of paper and a pen handy. You will write down your seed words in the notebook and then put that somewhere safe. This will serve as a backup of your seed.
Because of the nature of multisig wallets your seed is not going to be enough to restore the wallet. Each co-signer must write down their seed too and cooperate to restore the wallet.
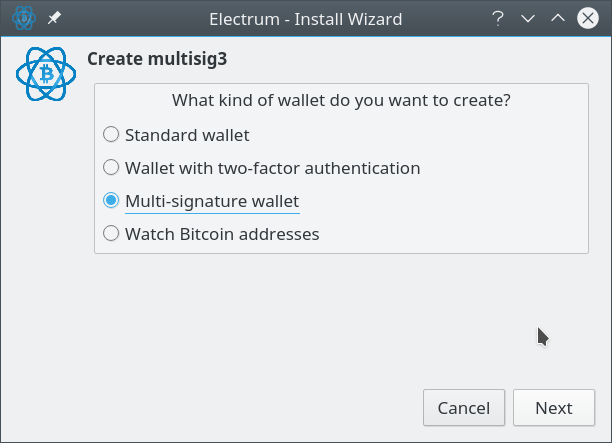
- Start by creating a new wallet file
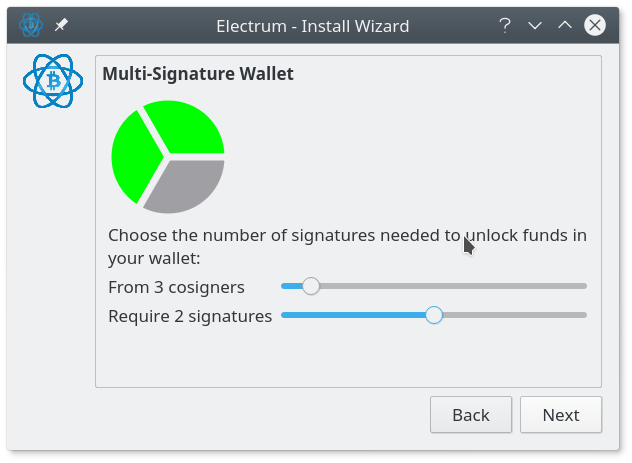
- Select Multi-signature as the wallet type:
- Select the number of co-signers and how many must sign spending transactions
 At this point it is important that you write down in your notebook that it is a multisig electrum wallet, the number of co-signers and the number of signatures required to spend from it.
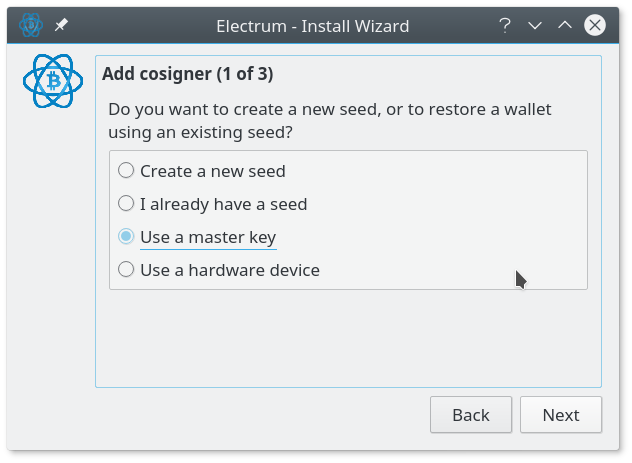
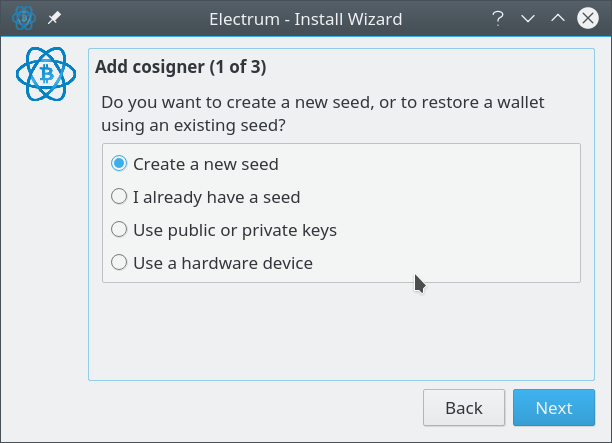
- Select create a new seed
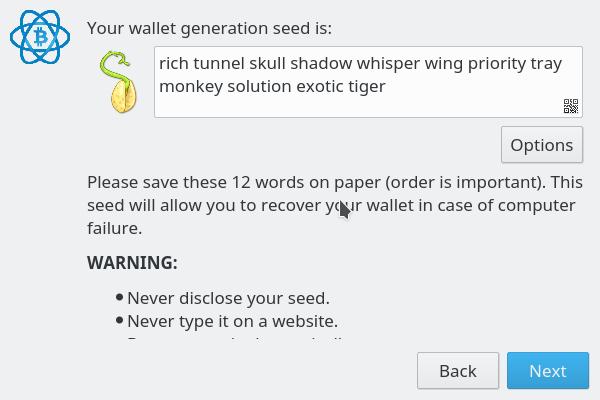
- Electrum will now display a seed which you write down in your notebook/paper. This must be kept secret and never shared with anyone:
- Then re-enter it to make sure you wrote it down correctly:

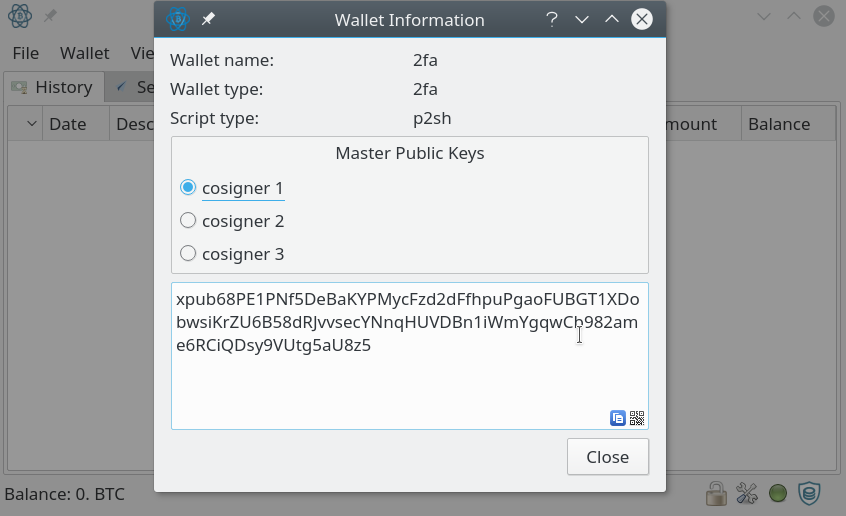
- Electrum will now display your MPK which you can copy to the clipboard and email to your co-signers
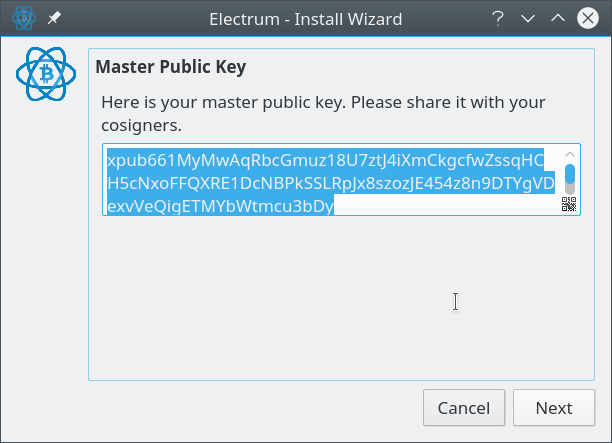
Note: Your MPK will begin with a different first letter (Z) than shown in the image above if you are using a segwit wallet. All your cosigners’ MPKs will begin with the same letter if they follow the same steps as you which they should.
- Close Electrum now by clicking on the x button in the top right corner. Your wallet has not been created yet. You still need to get the other co-signers MPKs before you can do that.
Communicate your MPK to your co-signers and Receive their MPKs from them
Now that you have generated your seed and your master public key (MPK) it is time to communicate your MPK to your co-signers and get their MPKs from them. You can do this via email or over the phone.
Note: Do not under any circumstances reveal your seed to them.
Note 2: I strongly recommend printing out all the co-signers MPKs and affixing them to the notebook in which you wrote down the seed and wallet details. You will need this when restoring your wallet in future.
Create the final wallet
Once you have all the co-signers’ MPKs you can create the wallet. The first three steps are the same as in Generate your seed and master public key above. Then you continue as below:
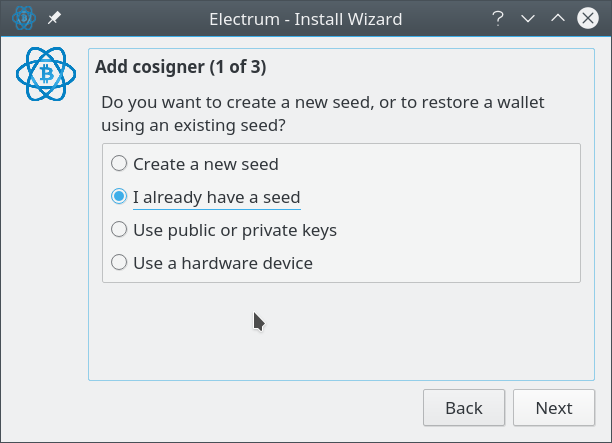
- Choose I already have a seed:
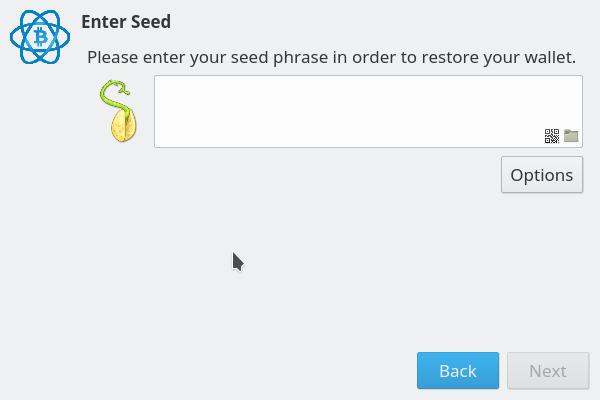
- Enter your seed and click next when you are done:
- Electrum will show you your MPK again. Just click next
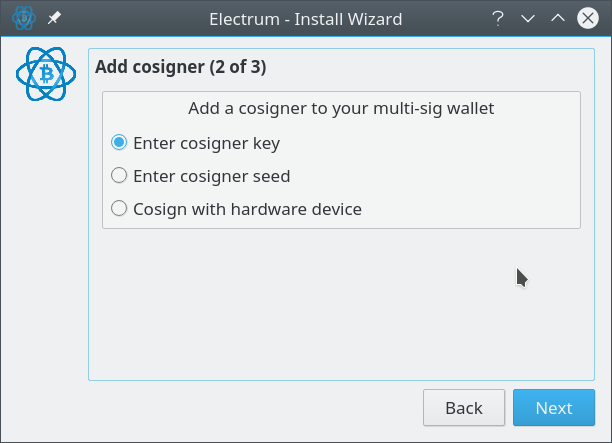
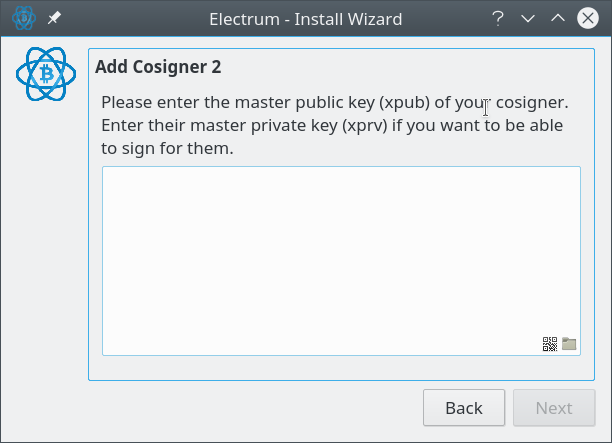
- The for each cosigner select “enter co-signer key” and then paste in their MPK in the next step:
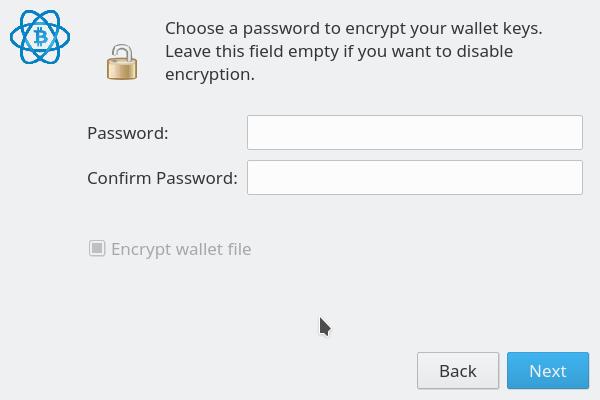
- After you’ve entered all the co-signers’ MPKs electrum will ask you whether you want to set a password to protect the wallet file
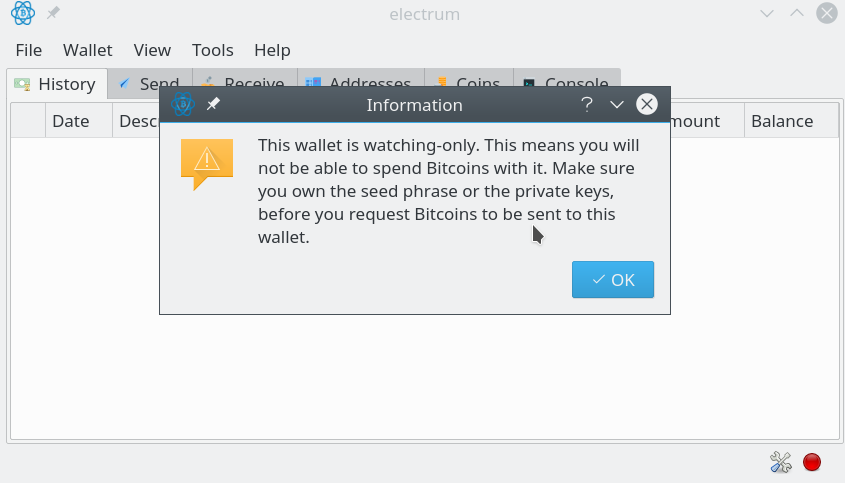
- Finally it’ll generate your addresses and display the main wallet window:
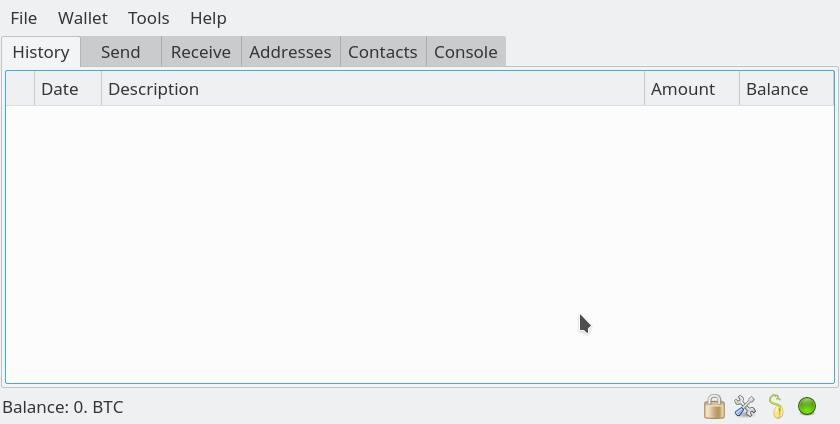
- You can now go to the receive tab and grab a receiving address. Communicate this to your co-signers to verify that they too get the same address in their wallet. If that is the case then everyone has the same wallet now and must cooperate to spend from it.
Related REsources
Spending from a multisig wallet
Note: this is no longer recommended since p2wpkh (bech32) support among other wallets/sites/exchanges has reached a very high level. Just choose segwit when creating an electrum wallet.
Electrum’s usual segwit wallets are not p2sh. They have bech32 (bc1..) addresses. That means that you may not be able to receive money in them from some wallets and websites because they don’t yet support bech32 addresses. p2sh segwit wallets OTOH use p2sh addresses beginning with 3 that everyone supports sending to.
On *nix
On *nix systems including Linux, FreeBSD and MacOSx you can simply use this script to generate an extended private key and then pipe it to electrum:
python3 xprv.py -g p2wpkh-p2sh -d "m/" -p|electrum -w wallet_file_name restore -
On Windows
1. Get Entropy
On Windows create an electrum wallet and then abort the process once you’ve acquired an Electrum generated seed.
2. Restore
Then you restore your wallet with two small changes to the usual process:
- During the seed entry screen click on options and check bip39. Then paste in the seed you generated in the first step. Electrum will warn you that this is not a valid bip39 seed but it’ll let you proceed to the next step anyway.
- The next step is the one where you set the derivation path and there you click on “p2sh-segwit BIP49”
That’s it. You will now have a p2sh segwit wallet. You can confirm by looking at Wallet menu > Information where it should say p2wpkh-p2sh as the script type.
Because you are using the seed mnemonic in an unusual way you cannot rely on it as a form of backup. Instead make a soft copy backup via file menu > save copy.